Developing applications to run on AWS can become much simpler with a local setup. Imagine working without needing an internet connection or incurring additional costs. As LocalStack states on its website:
“Develop and test your AWS applications locally to reduce development time and increase product velocity. Reduce unnecessary AWS spend and remove the complexity and risk of maintaining AWS dev accounts.”
LocalStack™ offers both a community and a pro version, allowing users to access the community version for free. In this guide, we’ll walk you through configuring a local instance of Simple Storage Service (S3) hosted in a DDEV container.
Installing Drupal with DDEV
From the DDEV quickstart guide, we can follow these steps to set up a new Drupal 11 project:
mkdir my-drupal11-site && cd my-drupal11-site \
ddev config --project-type=drupal11 --docroot=web \
ddev composer create drupal/recommended-project:^11.0.0 \
ddev composer require drush/drush \
ddev drush site:install --account-name=admin --account-pass=admin -y \
ddev launch
Important:
At the time of writing this guide, the S3 Filesystem module requires drupal/core:^11.0.0. This means it is not compatible with Drupal 11.1, which is currently the latest core version. To address this, we’ve specified the ^11.0.0 version constraint in Composer, ensuring the installation of the latest 11.0.x version.
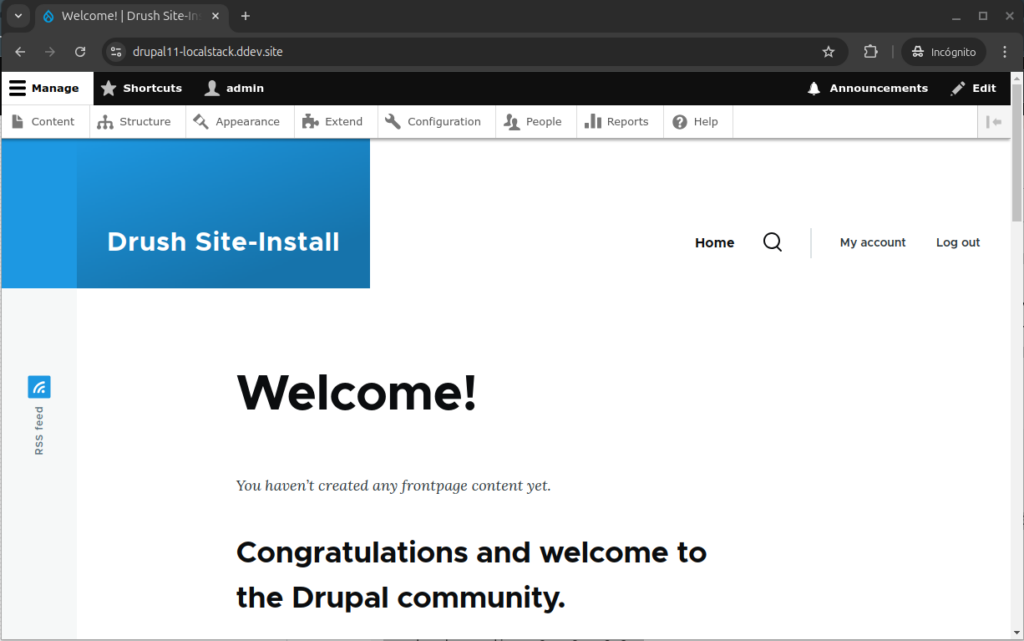
With these steps, you should now have a DDEV project running a clean Drupal installation with Drush.

Adding the LocalStack service to DDEV
Next, we need to create a file named docker-compose.localstack.yml in the root of the .ddev directory with the following content:
services:
  localstack:
    container_name: ddev-${DDEV_SITENAME}-localstack
    image: localstack/localstack
    restart: always
    labels:
      com.ddev.site-name: ${DDEV_SITENAME}
      com.ddev.approot: $DDEV_APPROOT
    environment:
      # LocalStack config: https://docs.localstack.cloud/references/configuration/
      - VIRTUAL_HOST=$DDEV_HOSTNAME
      - DEBUG=0
    ports:
      - 4566:4566
    volumes:
      - "./localstack/volume:/var/lib/localstack"
      - "/var/run/docker.sock:/var/run/docker.sock"

  web:
    links:
      - localstack
(based on https://docs.localstack.cloud/getting-started/installation/#docker-compose)
Then, we must restart the DDEV project:
ddev restartAnd we will be able to open a ssh connection to our new localstack container:
docker exec -ti ddev-drupal11-localstack-localstack bashFollowing the instructions from the LocalStack S3 User Guide, we will now proceed to create a bucket:
awslocal s3api create-bucket --bucket sample-bucket
And we will get a positive feedback response:
{
    "Location": "/sample-bucket"
}
At this point, we now have a local AWS S3 instance up and running inside a container, accessible as localstack from the other DDEV project containers.
Important Caveat:
The community version of the LocalStack container does not include persistence. This feature is only available in the paid LocalStack Pro version. As a result, when using the community edition, all buckets and their content will be lost each time the localstack container is restarted. This limitation means we can only perform very basic tests with this setup.
Configuring EC2 Metadata Mock
Many AWS SDKs rely on a critical component available in every EC2 instance: a metadata server accessible at 169.254.169.254. Since this server won’t be available from our DDEV web container, we need to mock it using a tool provided by Amazon.
Fortunately, this tool is available as a Docker image, which allows us to create another container within our DDEV project to host it. To set this up, create a file named docker-compose.ec2-metadata-mock.yml inside the .ddev directory with the following content:
services:
  ec2-metadata-mock:
    container_name: ddev-${DDEV_SITENAME}-ec2-metadata-mock
    image: public.ecr.aws/aws-ec2/amazon-ec2-metadata-mock:v1.12.0
    restart: always
    labels:
      com.ddev.site-name: ${DDEV_SITENAME}
      com.ddev.approot: $DDEV_APPROOT
    environment: []
    ports:
      - 1338:1338
    volumes: []

  web:
    links:
      - ec2-metadata-mock
The tool listens on port 1338 instead of the standard port 80, but we’ll address this difference later. More details will follow in the next sections.
Restart DDEV to deploy the new container:
ddev restartAfter restarting, the EC2 Metadata Mock will be running on port 1338 and accessible as ec2-metadata-mock from other containers within the DDEV project.
We now can make a simple request from our web container to http://ec2-metadata-mock:1338/
ddev ssh

curl http://ec2-metadata-mock:1338/latest/meta-data/iam/security-credentials
baskinc-role

curl http://ec2-metadata-mock:1338/latest/meta-data/iam/security-credentials/baskinc-role
{
  "Code": "Success",
  "LastUpdated": "2020-04-02T18:50:40Z",
  "Type": "AWS-HMAC",
  "AccessKeyId": "12345678901",
  "SecretAccessKey": "v/12345678901",
  "Token": "TEST92test48TEST+y6RpoTEST92test48TEST/8oWVAiBqTEsT5Ky7ty2tEStxC1T==",
  "Expiration": "2020-04-02T00:49:51Z"
}
The Expiration value will trigger a warning later when validating the configuration in Drupal. However, this warning can safely be ignored.
For more information on making requests to the EC2 Metadata Mock, refer to the official documentation at https://github.com/aws/amazon-ec2-metadata-mock/tree/main?tab=readme-ov-file#making-a-request.
Patch the aws-sdk-php Composer package
The simplest way to make the AWS SDK recognize a custom EC2 Metadata Service location is by directly modifying its hardcoded IP address:
Change the value of the class constant Aws\Credentials\InstanceProfileProvider::DEFAULT_METADATA_SERVICE_IPv4_ENDPOINT to http://ec2-metadata-mock:1338
<?php
namespace Aws\Credentials;

use ...

/**
 * Credential provider that provides credentials from the EC2 metadata service.
 */
class InstanceProfileProvider
{
    ...
    const DEFAULT_METADATA_SERVICE_IPv4_ENDPOINT = 'http://ec2-metadata-mock:1338';
This way, the credentials provider accessed will be our EC2 Metadata Mock server.
You can make a composer patch to retain this configuration. See https://github.com/cweagans/composer-patches for more information.
Edit /etc/hosts file in the host computer
From the web container, the LocalStack container is accessible as localstack via http://localstack:4566. This setup enables internal communication between Drupal and LocalStack to function seamlessly.
However, we also need access to the bucket from the host computer (our PC), as the web browser navigating the Drupal site will be running locally and needs to access the files stored in the bucket.
So, add a new hostname to your localhost definition line inside your /etc/hosts file:
127.0.0.1 localhost localstack
127.0.1.1 MY-PC

# The following lines are desirable for IPv6 capable hosts
::1 ip6-localhost ip6-loopback
fe00::0 ip6-localnet
ff00::0 ip6-mcastprefix
ff02::1 ip6-allnodes
ff02::2 ip6-allrouters
And that’s it! Both your web browser and the DDEV web container can now access the bucket via http://localstack:4566/sample-bucket.
Remember, we selected the “Use path-style endpoint” option in the S3 FileSystem configuration, which ensures compatibility with this setup.
Configuring Drupal
Install the module “S3 Filesystem”.
ddev composer require drupal/s3fs \
ddev drush en s3fs
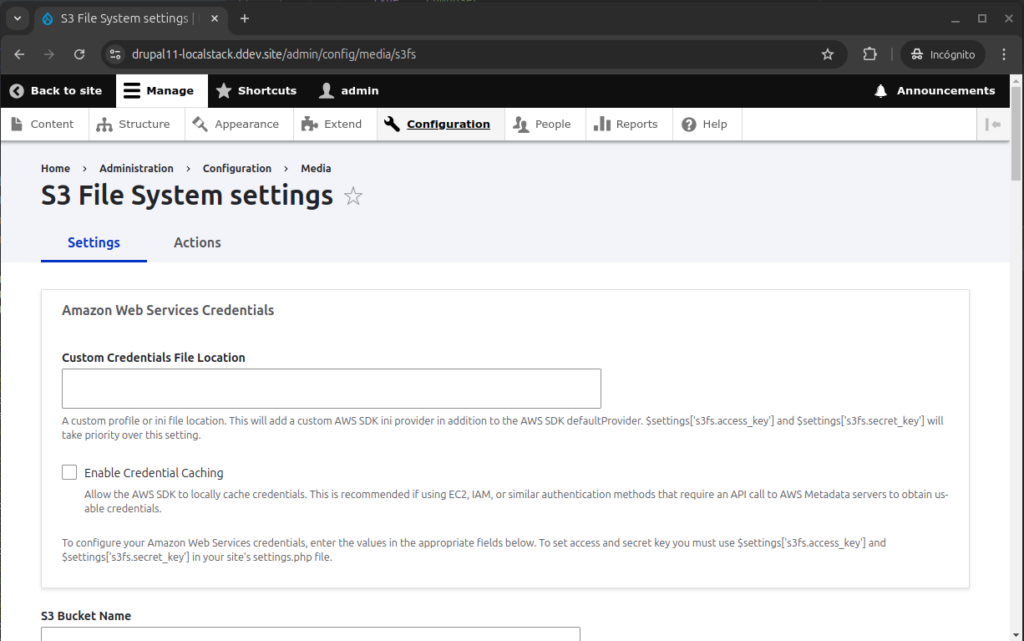
And go to configure its settings at /admin/config/media/s3fs.

We will only have to fill these settings:
- S3 Bucket Name: sample-bucket
- Use a Custom Host: Checked
- Hostname: http://localstack:4566
- Use path-style endpoint: Checked
Now, you can go to the “Actions” tab or visit /admin/config/media/s3fs/actions and click on the “Validate configuration” button.
Despite the warning about the EC2 Metadata Mock credentials’ expiration date (set to the year 2020), the settings will still be validated correctly. This means that your Drupal configuration will function as expected, even with this warning present.


Make an image field use the new S3 storage
Go to /admin/structure/types/manage/article/fields/node.article.field_image so we can configure the image field in the default “Article” content type:
Then, change the Field Storage to “S3 File System” and click on “Save settings”.

From now on, any new images added to articles will be stored in the new LocalStack sample-bucket
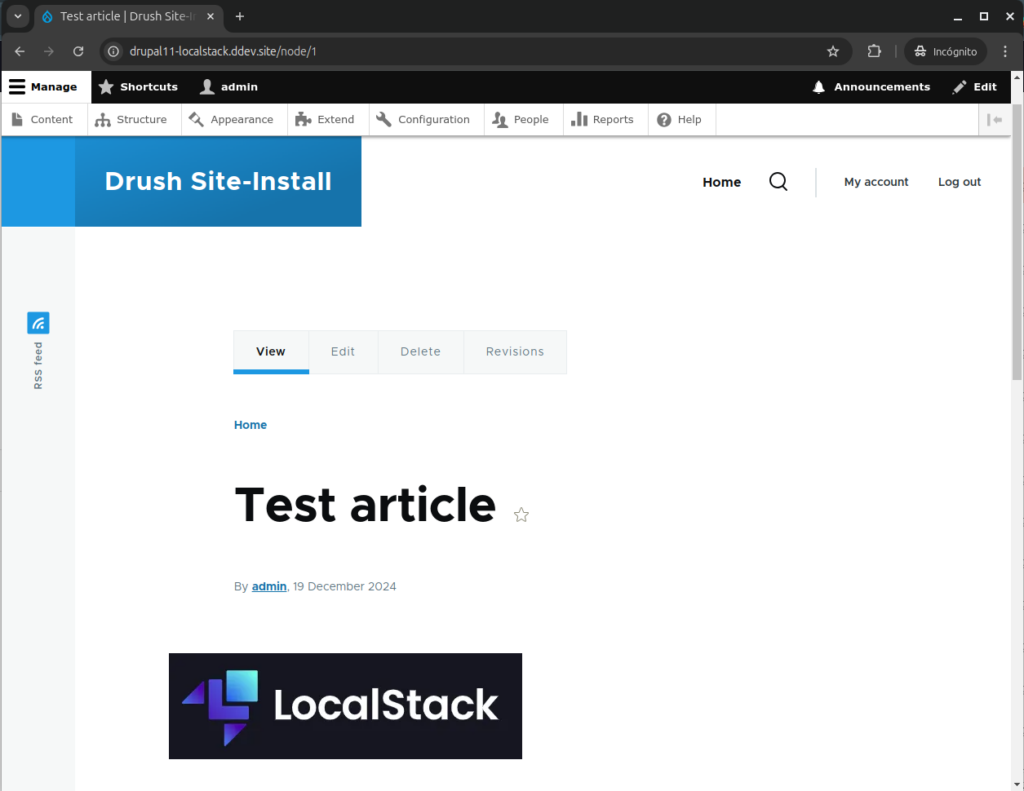
Let’s now create a new Article with an image:

We can view the image thanks to the previously configured entry in /etc/hosts for the localstack hostname. This ensures that the image’s src attribute, pointing to:
https://[ddev-project-name].ddev.site/s3/files/styles/wide/s3/2024-12/image.webp?itok=_NXZWAN7Which is redirected with a 302 to:
http://localstack:4566/sample-bucket/styles/wide/s3/2024-12/localstack.png.webp?itok=_NXZWAN7On the other hand, we can also see that the image and its image styles are effectively stored in the bucket:
docker exec -ti ddev-drupal11-localstack-localstack bash

awslocal s3api list-objects --bucket sample-bucket

{
    "Contents": [
        {
            "Key": "2024-12/localstack.png",
            "LastModified": "2024-12-19T18:26:47.000Z",
            "ETag": "\"d7cbf11f95e7d277c8989d2e8a11267f\"",
            "Size": 11510,
            "StorageClass": "STANDARD",
            "Owner": {
                "DisplayName": "webfile",
                "ID": "75aa57f09aa0c8caeab4f8c24e99d10f8e7faeebf76c078efc7c6caea54ba06a"
            }
        },
        {
            "Key": "styles/thumbnail/s3/2024-12/localstack.png.webp",
            "LastModified": "2024-12-19T18:26:47.000Z",
            "ETag": "\"34ab21d0998bd749a7cfe82085ca6f76\"",
            "Size": 780,
            "StorageClass": "STANDARD",
            "Owner": {
                "DisplayName": "webfile",
                "ID": "75aa57f09aa0c8caeab4f8c24e99d10f8e7faeebf76c078efc7c6caea54ba06a"
            }
        },
        {
            "Key": "styles/wide/s3/2024-12/localstack.png.webp",
            "LastModified": "2024-12-19T18:26:55.000Z",
            "ETag": "\"4f4f644fc0a98604de82e58b720af7cb\"",
            "Size": 3212,
            "StorageClass": "STANDARD",
            "Owner": {
                "DisplayName": "webfile",
                "ID": "75aa57f09aa0c8caeab4f8c24e99d10f8e7faeebf76c078efc7c6caea54ba06a"
            }
        }
    ],
    "RequestCharged": null,
    "Prefix": ""
}
Conclusion
Having a local implementation of AWS services is incredibly helpful for development purposes. This applies not only to the S3 service but also to the wide range of complex services supported by LocalStack. Using LocalStack can prevent unnecessary expenses—potentially significant ones—caused by mistakes during development.
In this guide, we focused solely on the S3 service and demonstrated the simplest configuration method. However, with a more advanced understanding of Docker Compose, it’s possible to design and implement a fully-featured local AWS cloud infrastructure to meet even the most complex development needs.


